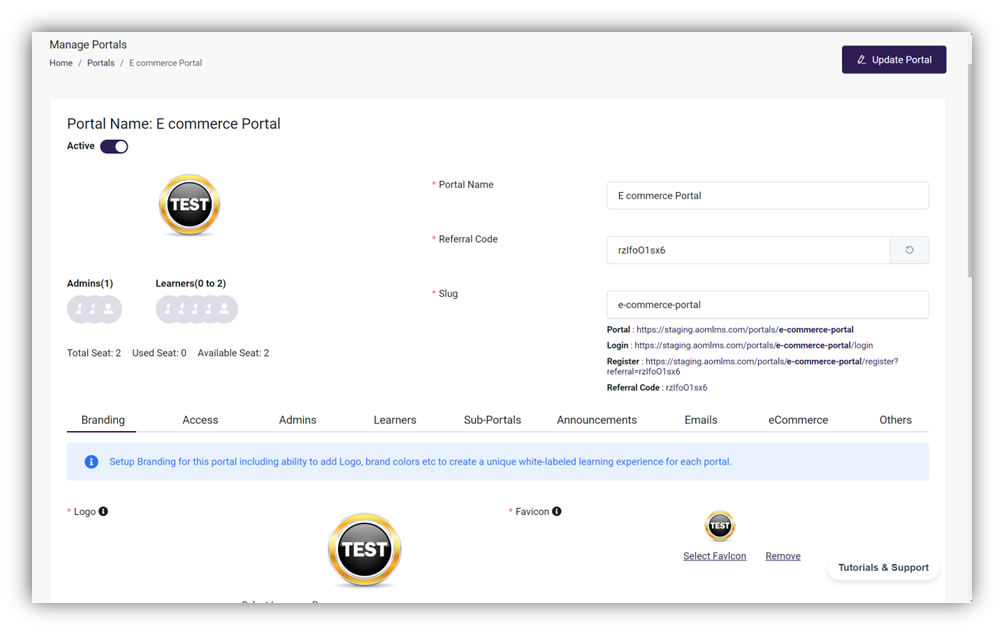
How to add Branding & Logo in Portal
Portal have the autonomy to define their own name and logo, allowing them to personalize their portal identity within the platform. This customization fosters a sense of ownership and belonging among group members. Setting up Branding for portal including ability to add Logo, brand colors etc., to create a unique white-labeled learning experience for each portal.
Steps to creating Branding and Logo
- Go to the Portal ->All Portals
- Select the Portal where you need to add Branding & Logo
- Under the Actions column click on (...) and select Manage
- Go to the tab 'Branding'

- In the Branding Tab you will be able to update the following:
Logo: Company or brand logo.
- Click on 'Select Logo' . A pop-up will appear .
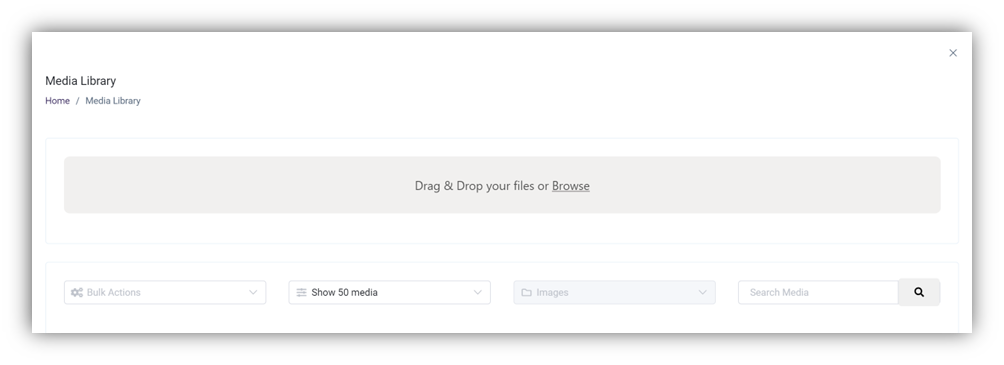
- Click on Browse and select the file and click on Open

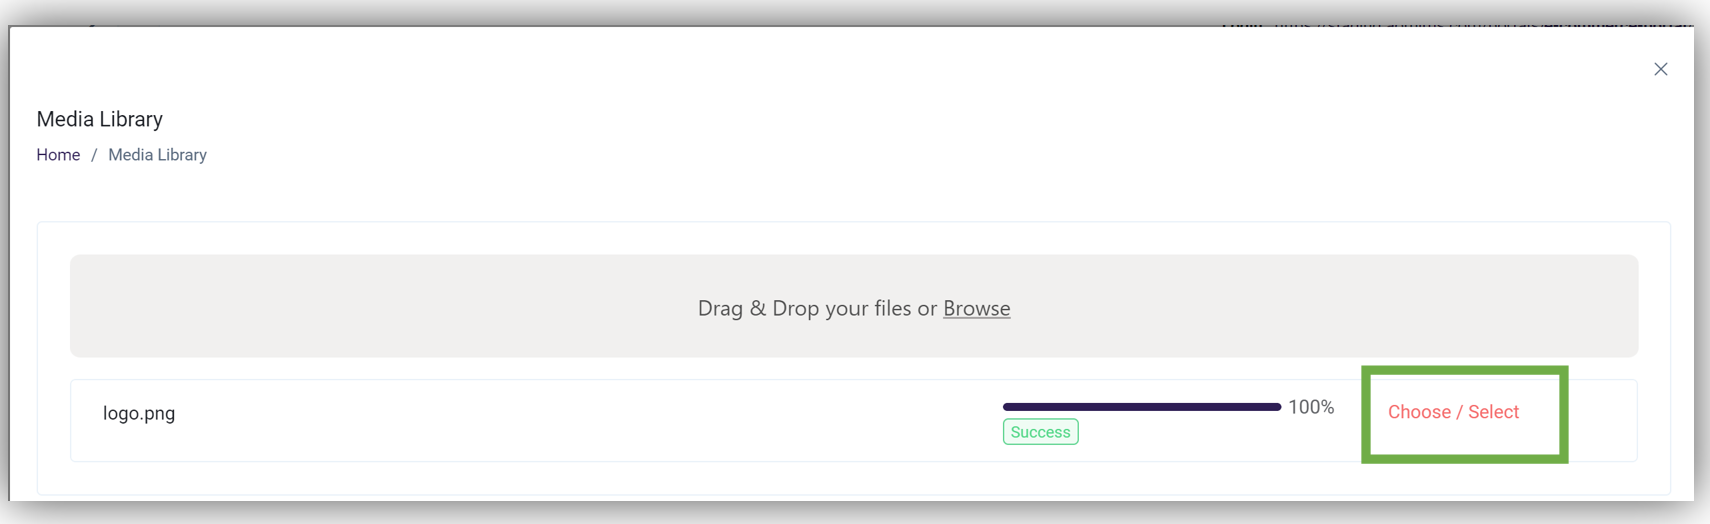
- Click on Choose / Select : Once you click on Choose / Select, the selected Logo will appear in portal
- Click on Update Portal to save the Logo setting
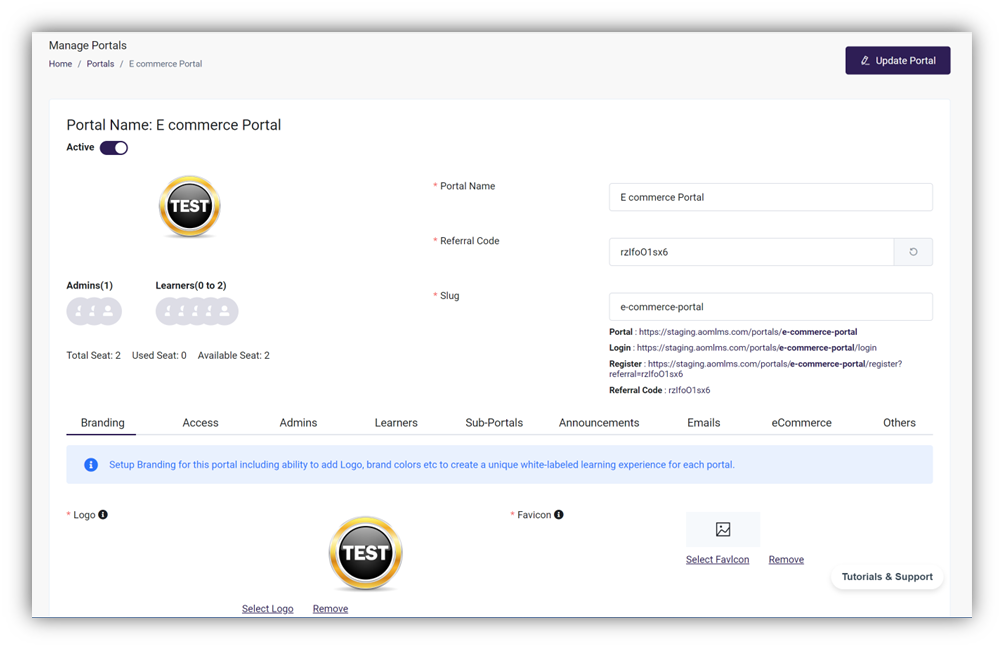
Favicon: An icon associated with a particular website, typically displayed in the address bar of a browser accessing the site.
- Click on 'Select Favicon'
- Click on Browse and select the file .
- Click on Choose/Select . Once you click on Choose/Select the Favicon will appear in Portal .
- Click on Update Portal to save the Logo setting
Portal Language: You can select the Default language for the Portal from the dropdown list .
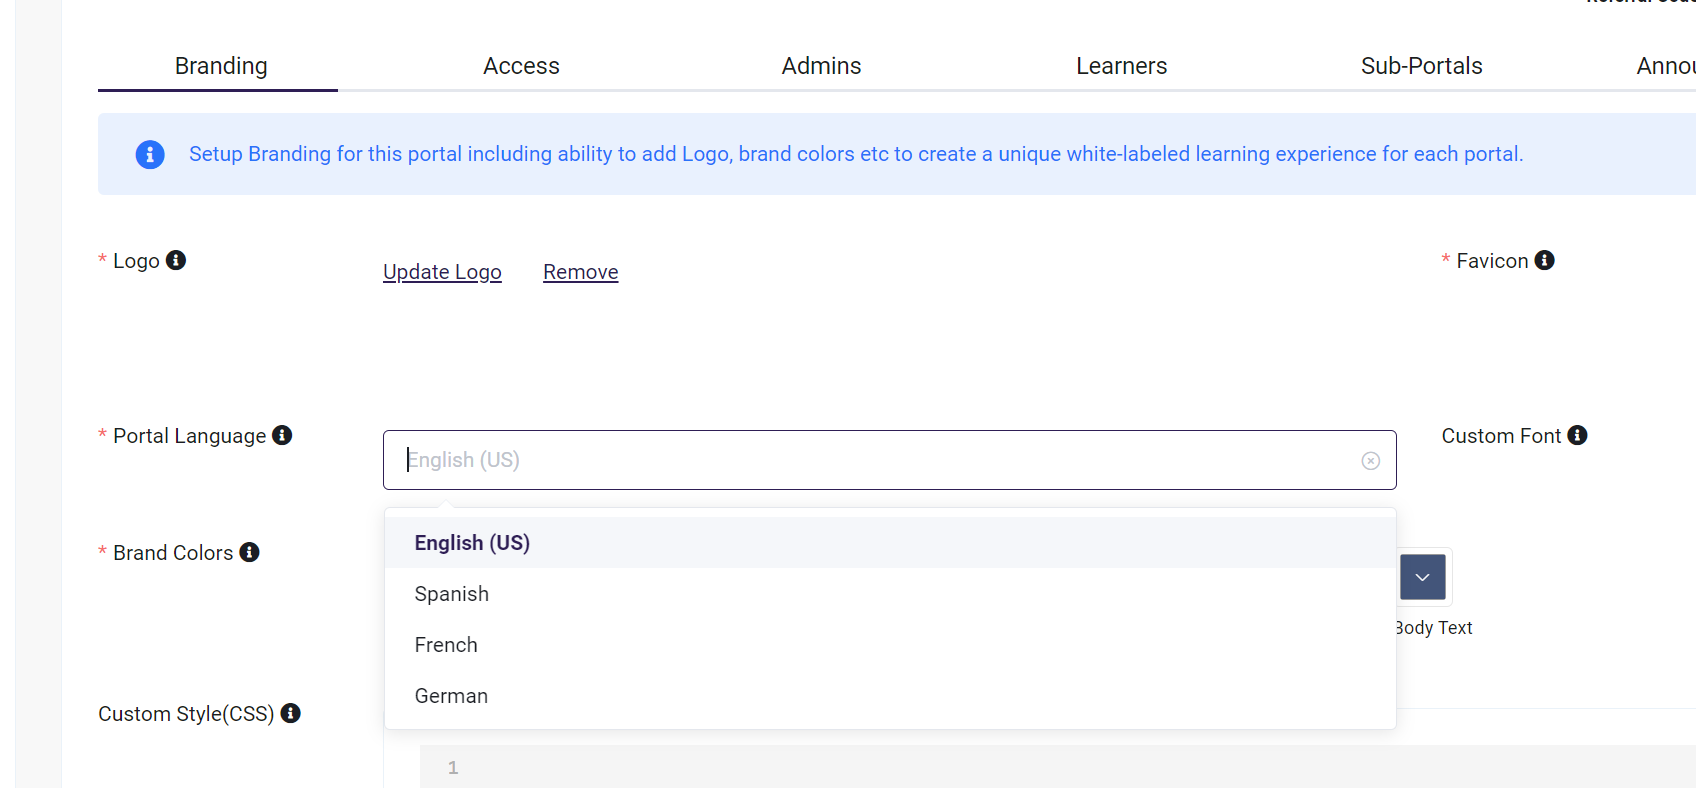
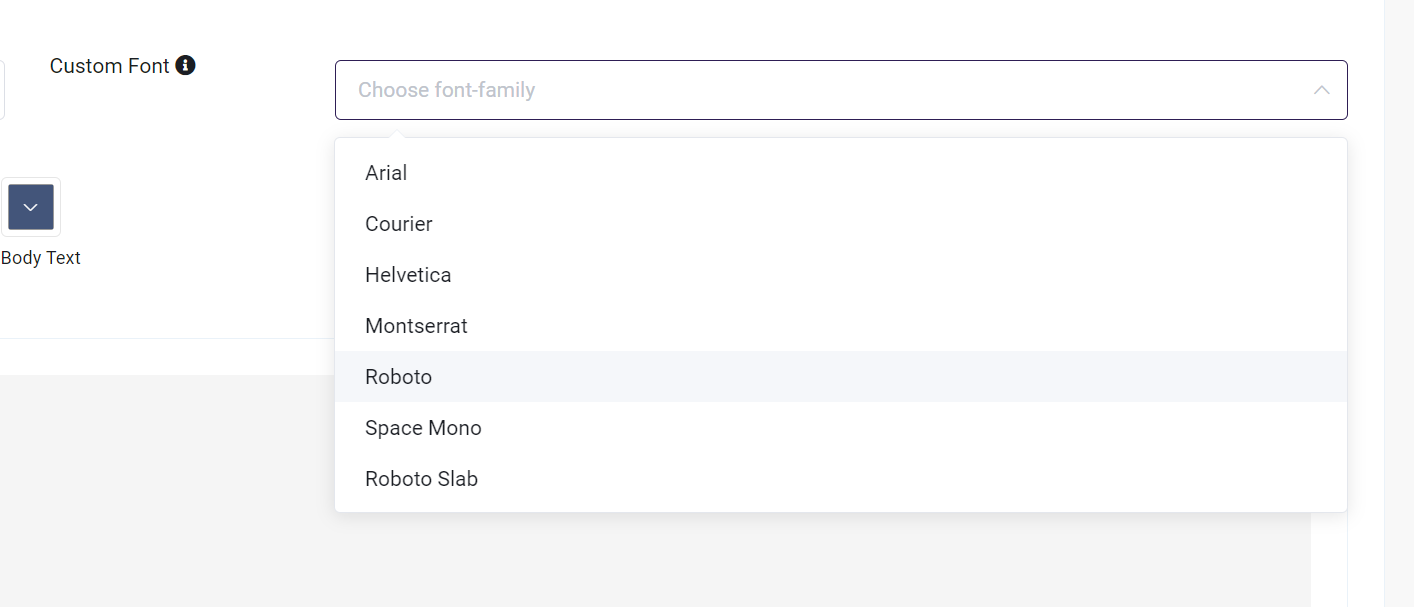
Custom font: You can select the Default Font for the Portal from the dropdown list .
Brand Colors: You can set the colors for Theme, Body Background, Body Text, Header Background according to your choice.

Custom Style(CSS): Add Custom CSS code that automatically gets applied to the particular Portal in which it has been added to achieve their specific look.
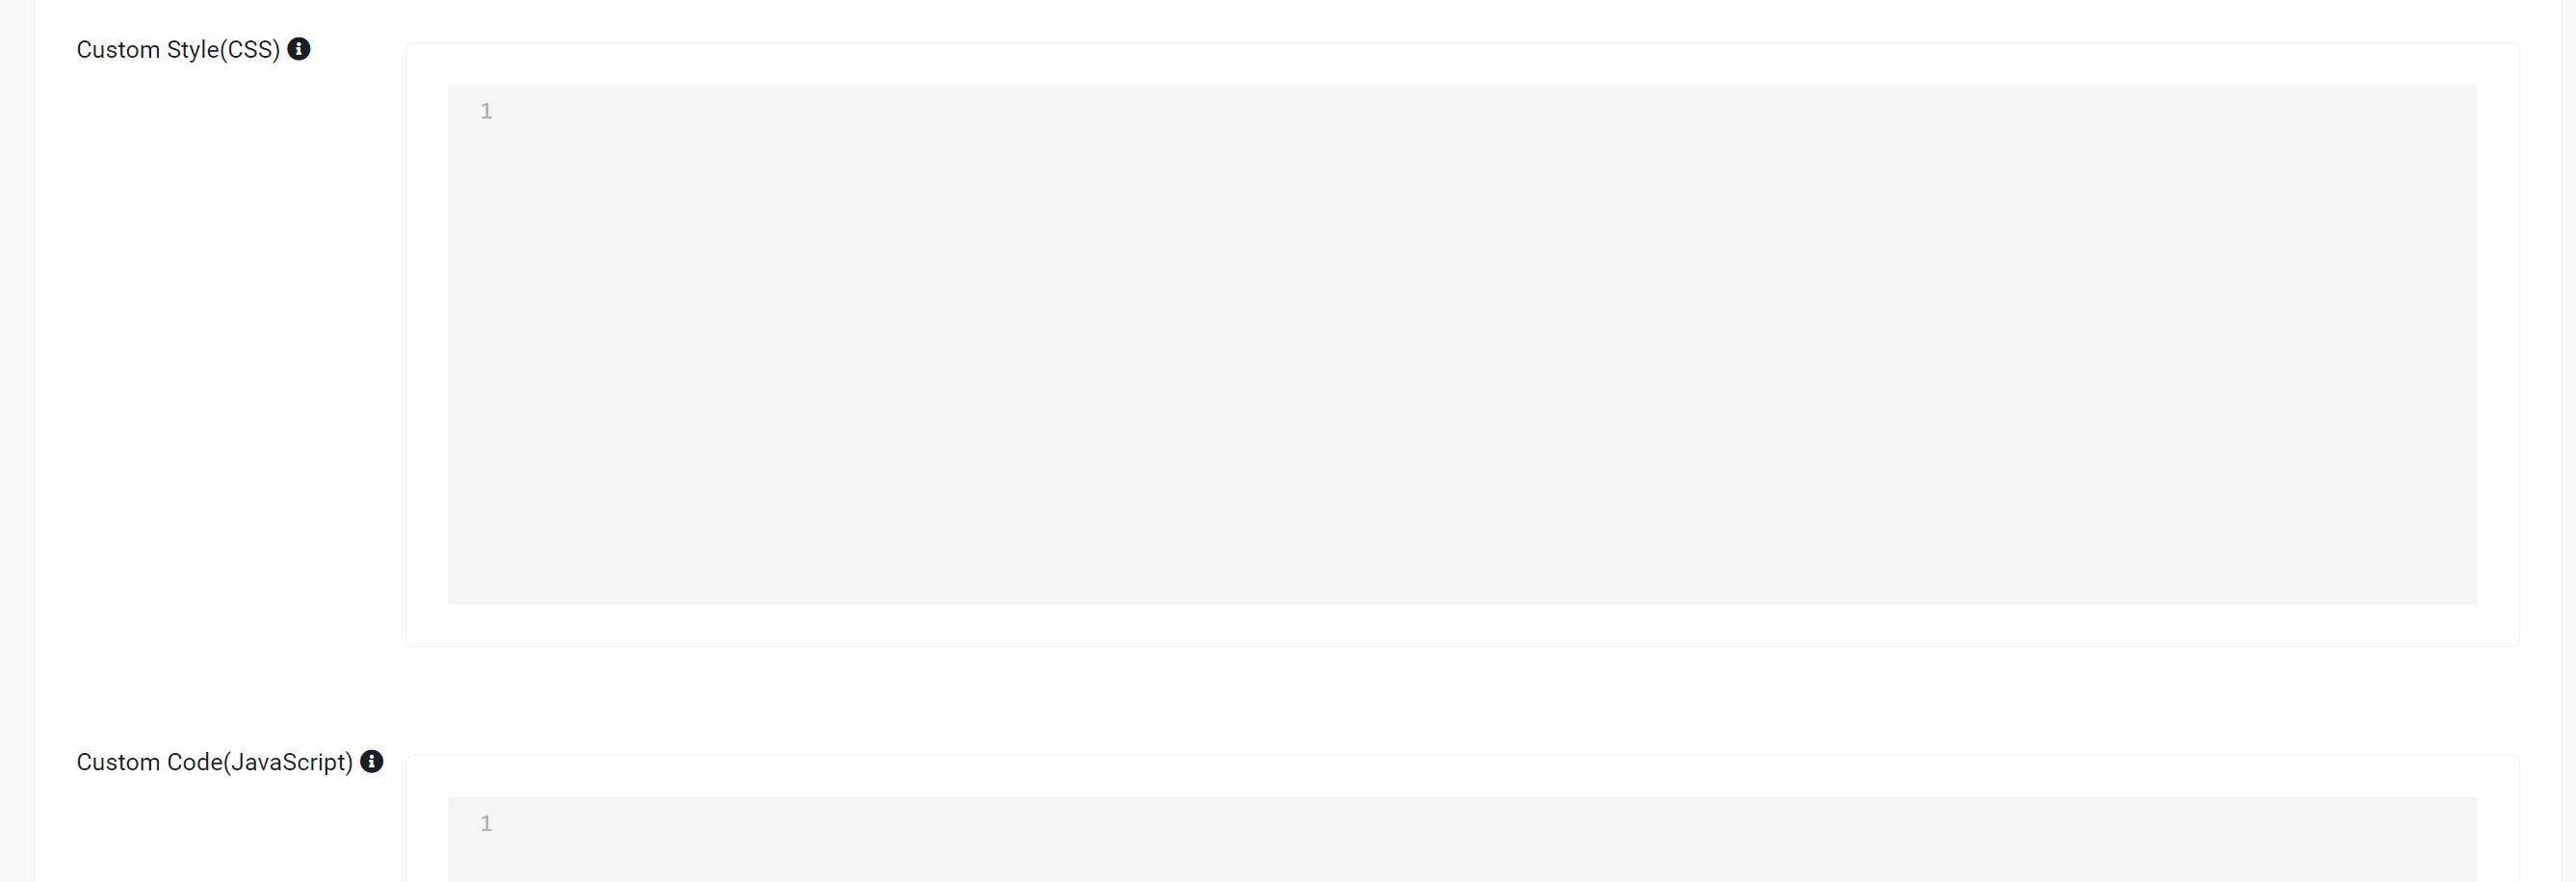
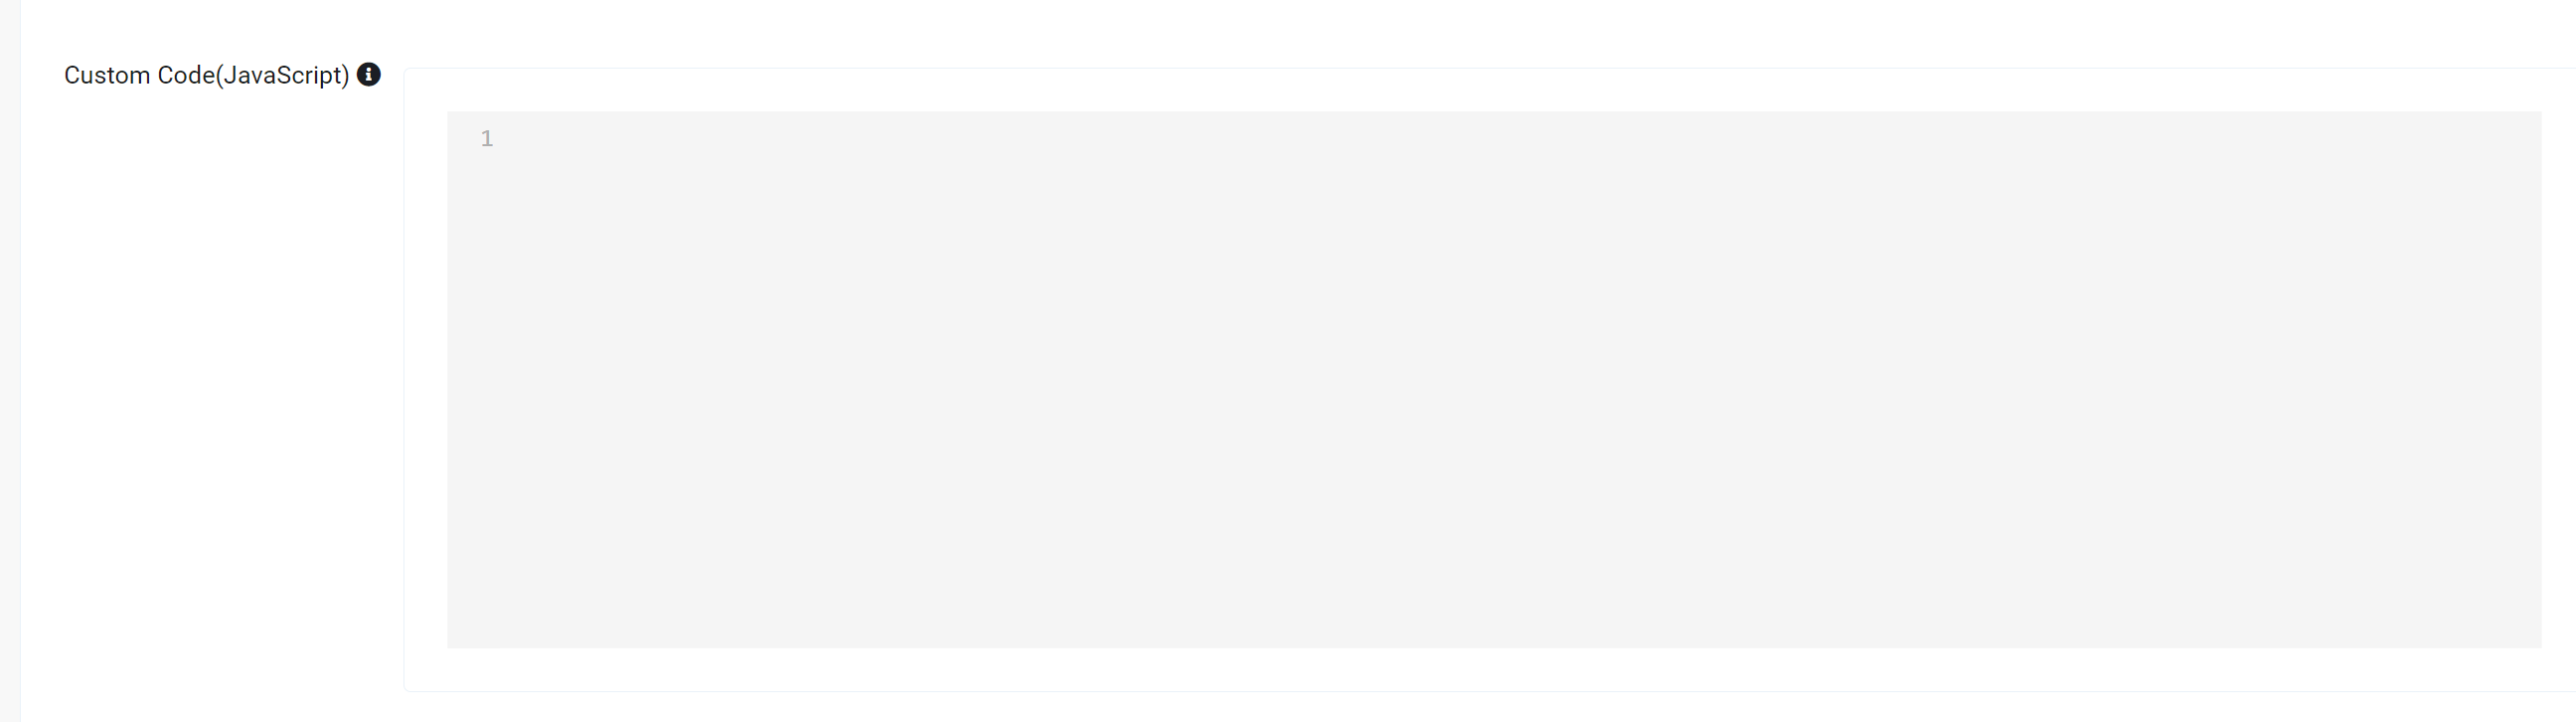
Custom Code (JavaScript): Add custom JavaScript using <Script> tag to enhance the functionality. for e.g., to use third-party code like Google Analytics, Chat widgets etc. This is an optional setting.